How to Tile a Bathroom
Tiling a bathroom may seem like a daunting task, but it’s really quite simple if you can understand the basics.
We have broken-down the process into the 5 main steps to give you a guide to do it yourself.
Prepare walls for tiling
Before you can start tiling, you need to ensure the walls are clean and dry. Remove any wallpaper or flaking paint to make the surface as smooth as possible, then wash the walls with sugar soap. Be sure to let the walls dry off before you applying any adhesive.
Setting out the tiles
Mark out the tile widths onto a piece of timber, including the spacers in between. This gauge stick will help you to easily plot the position of the tiles.
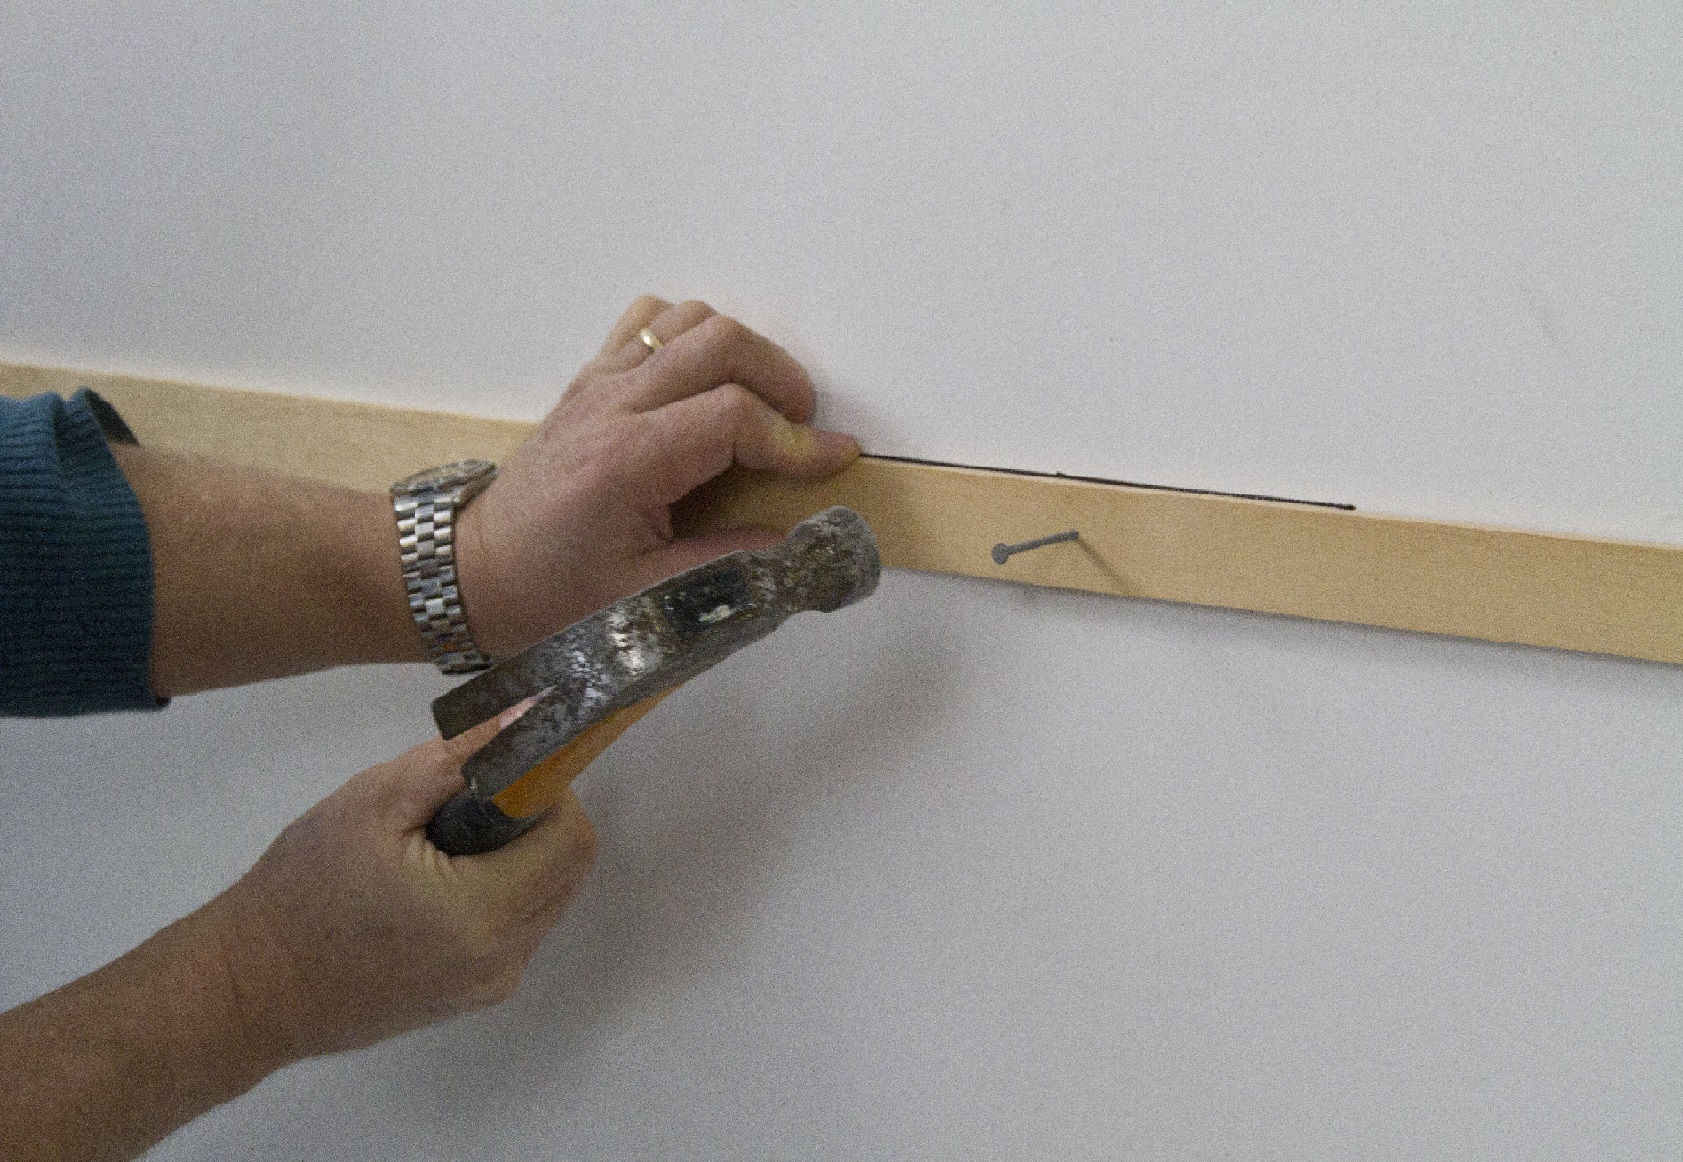
Nail a timber batten horizontally along the wall, using a spirit level to ensure you’re working from a level surface. This batten should be positioned at the height of one tile from the floor.
Measure the width of the wall and mark the centre point on the batten. Use the gauge stick to mark out the tile positions on either side of this point.
Use the spirit level to position another batten vertically at the mark furthest from the centre. Tiling can now begin from where the two battens meet.
Tiling
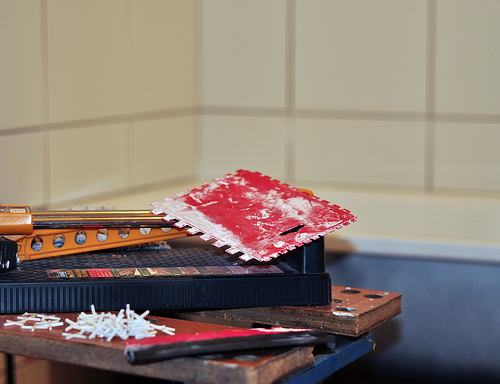
Apply the waterproof tile adhesive to the wall to cover around one square metre, and spread with a comb.
Place the first tile in the corner of the two battens – use this as a starting point to lay the rest of the tiles, with spacers in between.
When you have finished tiling the main area, leave the adhesive to dry for at least 24 hours.
Once the adhesive has dried, you can remove the battens ready to tile the rest of the wall.
Cutting border tiles
You will need to cut the rest of the tiles to fit into the gaps around the main tiled area. Hold your tile face down against the wall and mark out where you need to cut.
Use a tile cutter to score the glazed side of the tile, and rest the tile on some spare spacers. Press down firmly on both sides to snap the tile.
Repeat this with rest of the tiles required to fit the remaining space, and lay the tiles as before.
Remove all spacers from between the tiles, and again let the adhesive dry for 24 hours.

Grout Spreader
Grouting and sealing
Ensure that you use a waterproof grout for bathroom tiles. Apply grout to all joints, using a rubber-bladed grout spreader.
Wipe away any excess grout from the surface of the tiles before it has a chance to dry and harden.
Joints where the tiles meet any bathroom furniture (bath, sinks, countertops, etc.) will need to be sealed with a silicone sealant to prevent the spread of moisture.
Leave a Reply