Kintsugi Repair – 5-Step Tutorial
We’ve all experienced that moment of horror when a favourite piece of china falls to the floor, doomed to be swept up and thrown out.
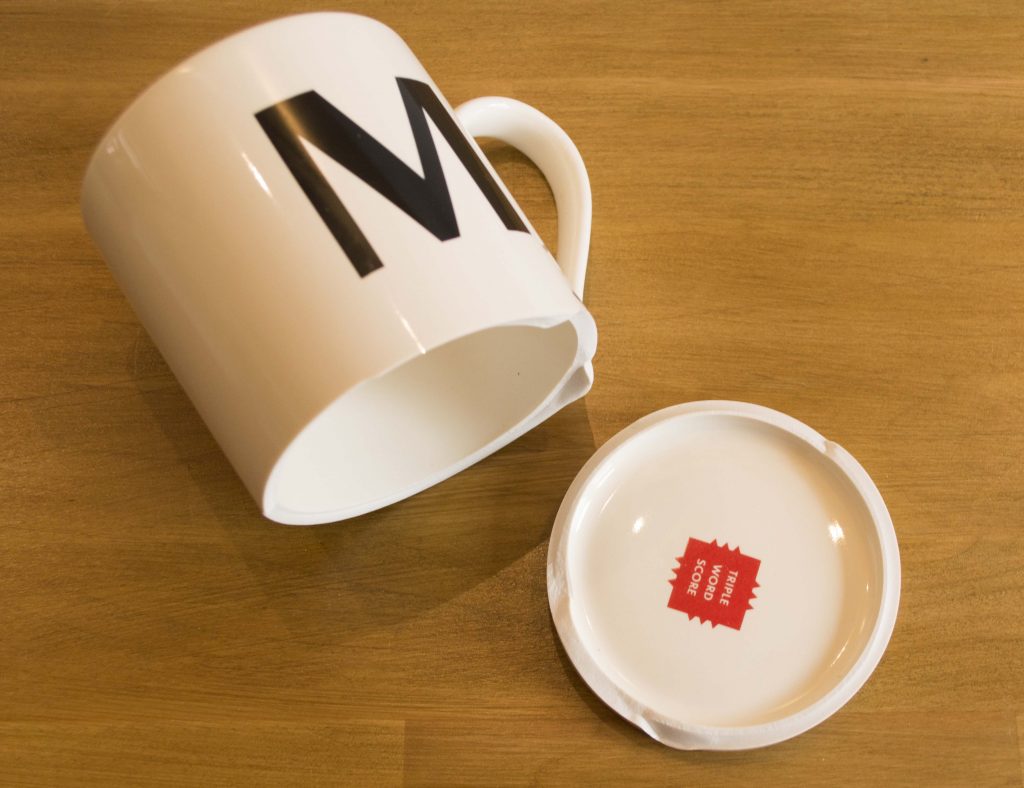
But it doesn’t have to be that way, you can repair your cherished items; whilst they may not suit their original purpose – hot drinks, food serving etc., – you can still use them as storage vessels or decorative ornaments.
The Japanese culture embraces the repair of objects. Making do and mending, so to speak. This philosophy, often referred to as Wabi-Sabi, invites us to embrace the journey an object has made through time. The cracks, the ageing, the remnants of loving use over time. This is best seen in the art of kintsugi- repairing broken objects with gold. Now, traditionally this is a complex procedure that can take weeks of curing and painting, with beautifully seamless results. But who has the time for that! Besides, many of the ancient ingredients conventionally used aren’t even available in the western world. Luckily, we can use some modern-day cheats to get us a great repair in no time.
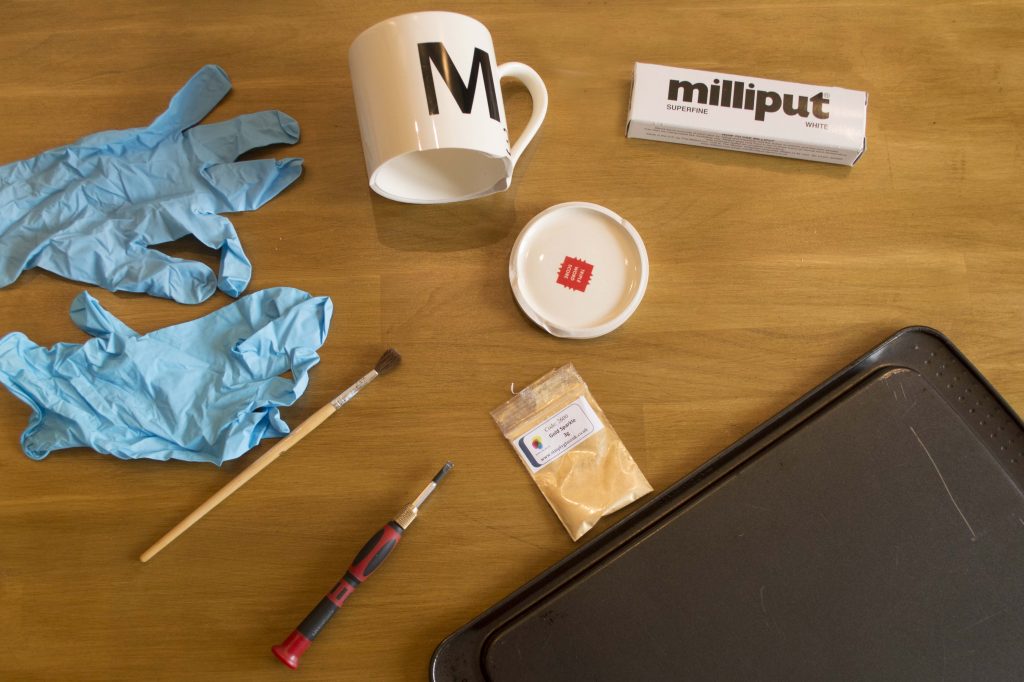
Here’s an overview of the things you’ll need to repair your object. Some are indispensable like the gloves, you don’t want this sticky plaster on your fingers! Two pairs are even better, one for kneading and assembling and one for cleaning up the piece.
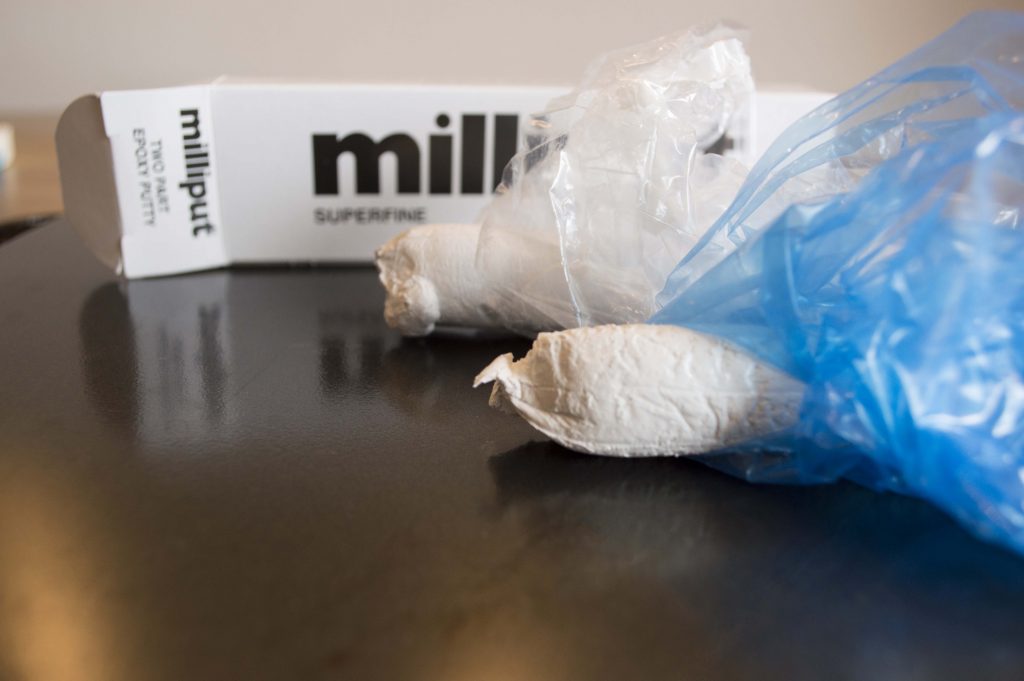
Doing a little bit of research, we found out about a mouldable, two-part epoxy adhesive that we figured would work well for ceramic repair.
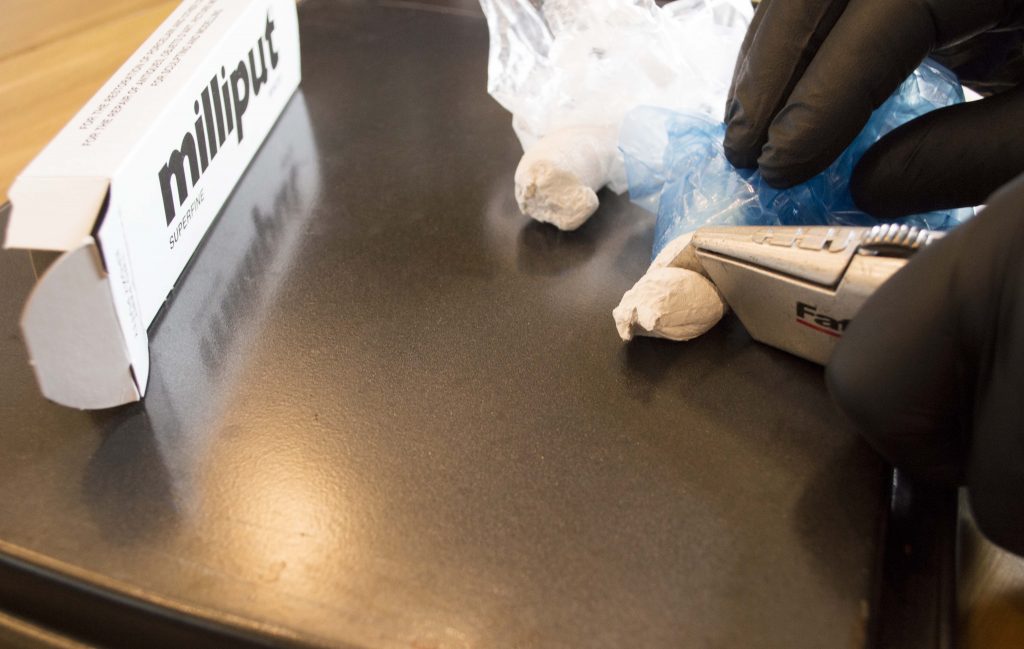
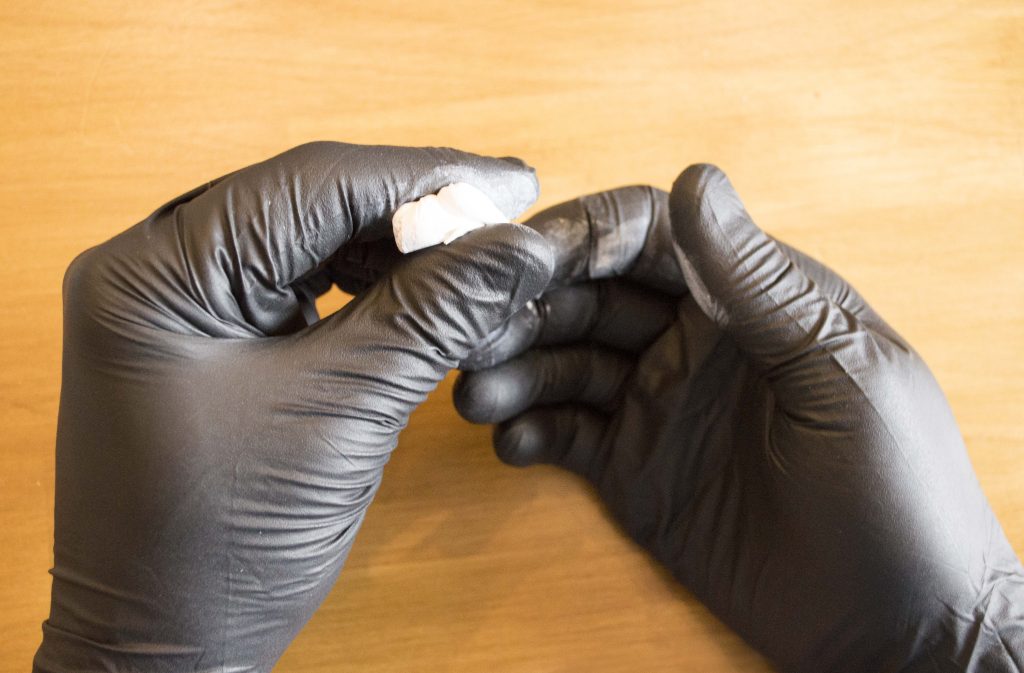
First, you must mix equal quantities of the two pastes together for about five minutes until tacky.
The repair process will be different for every piece. If you have multiple pieces then glue the two biggest pieces together first and set aside to dry and harden. Then add on pieces as stability allows, a bowl of rice can give the piece great support as it dries if it’s an awkward size.
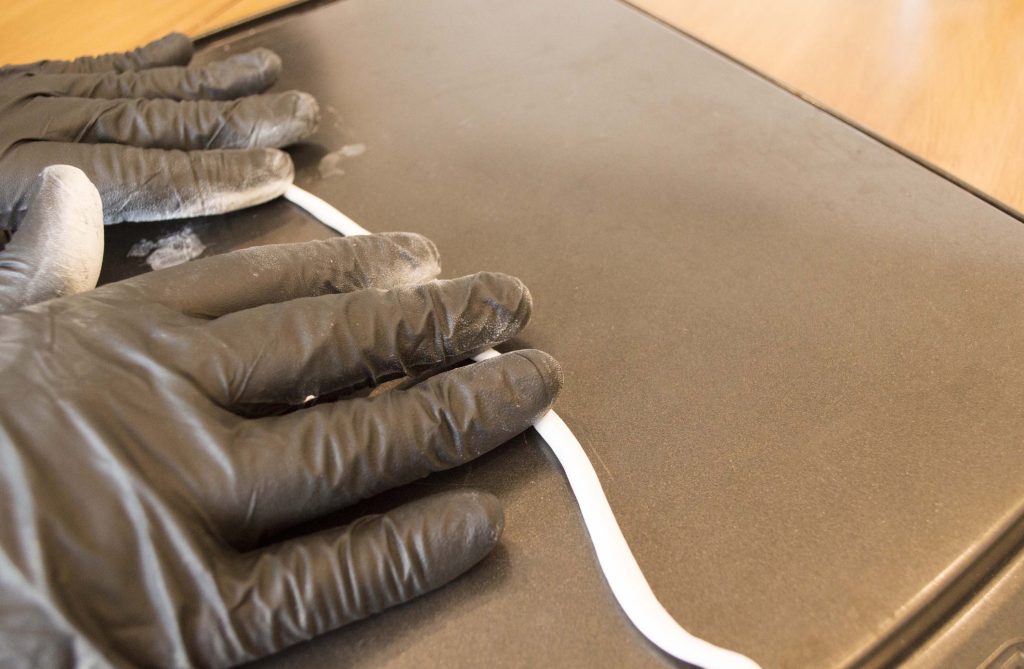
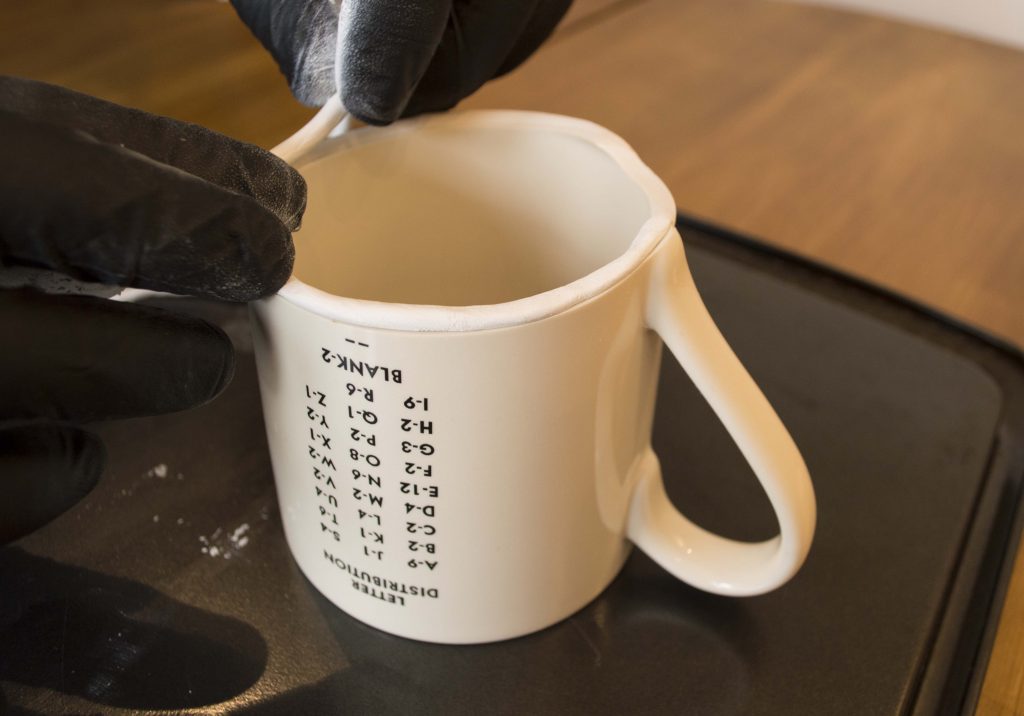
Roll the putty into a long sausage on a disposable or craft surface. Apply the adhesive to one, or both, pieces to be stuck together. It doesn’t have to be too tidy at this point. Align the pieces together then apply pressure to stick. The adhesive will be squished out of the join.
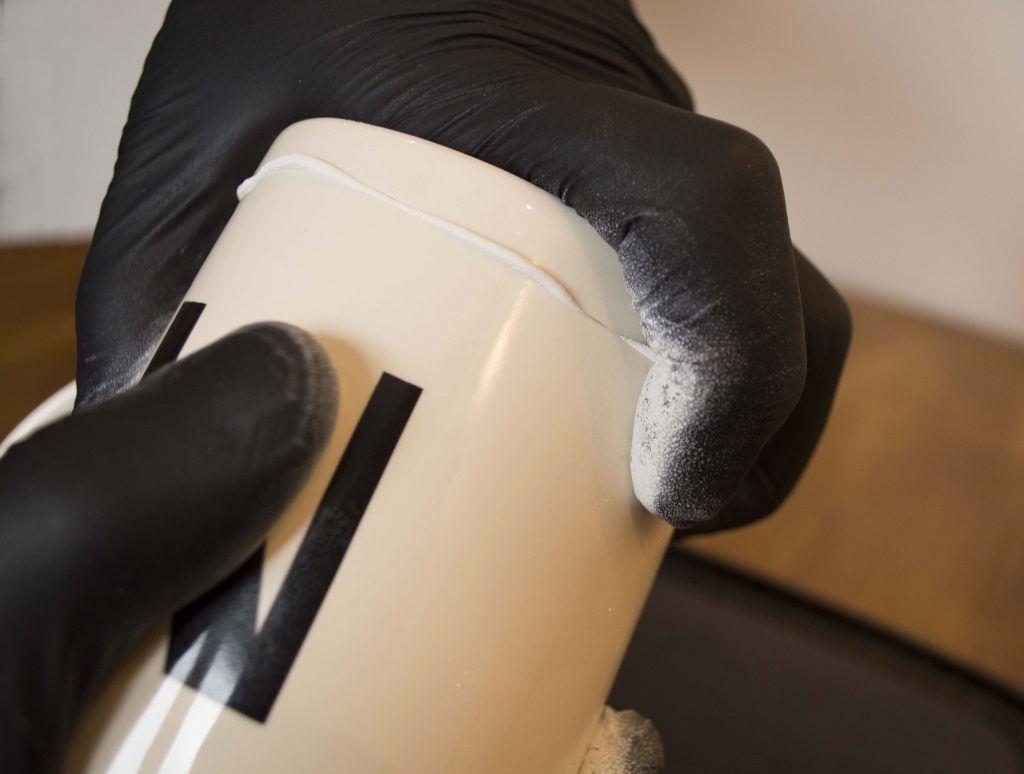
Scrape the excess adhesive away then begin cleaning the piece up.
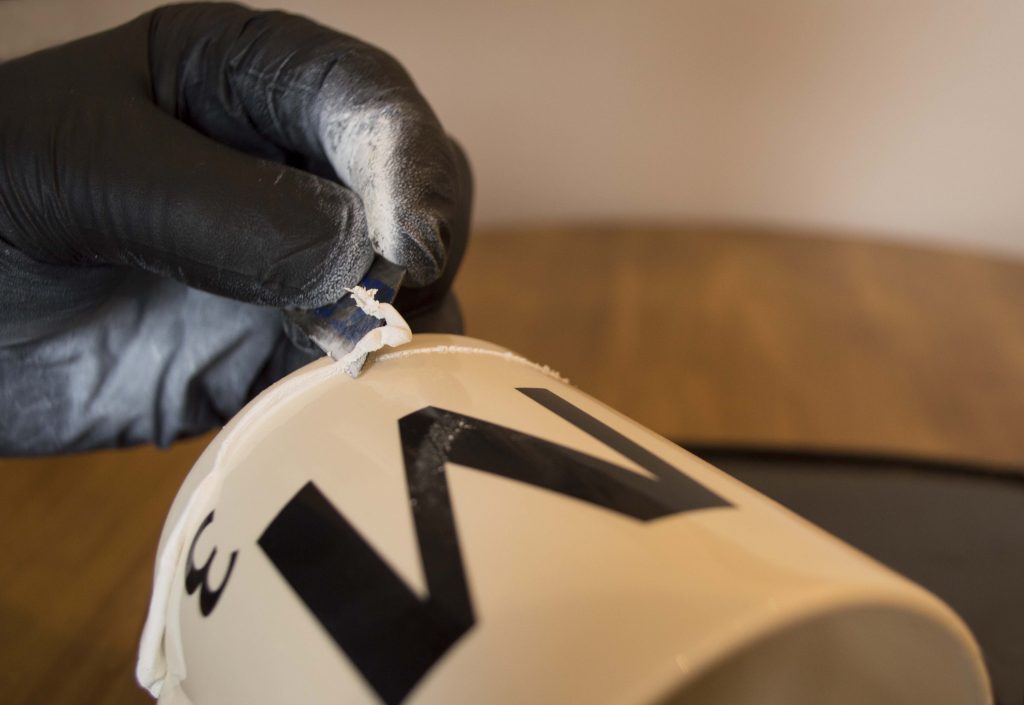
This adhesive is wet mouldable, check with your manufacturer first! Dip your finger in water and begin smoothing the line, pushing the putty so that it’s flush with the piece. You can switch to a cloth to clean up further.
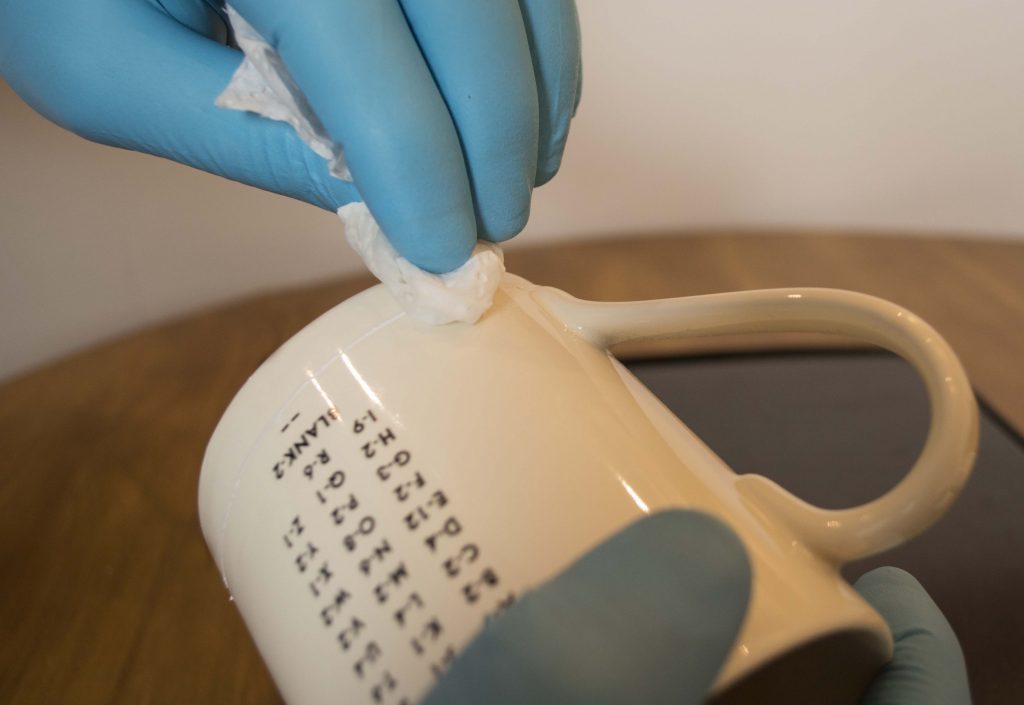
If this method doesn’t work for you, due to a staged repair or non-wet-mouldable putty, then you can always clean off the majority of putty, put the rest of your piece together and sand til smooth. You will miss the next step and have to paint on the gold after sanding instead.
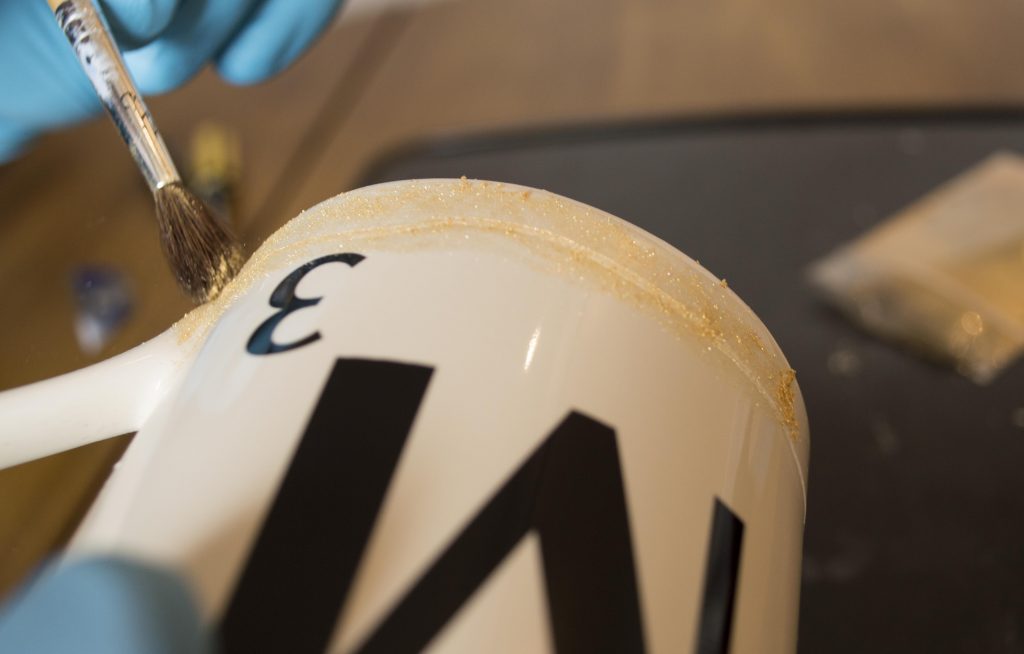
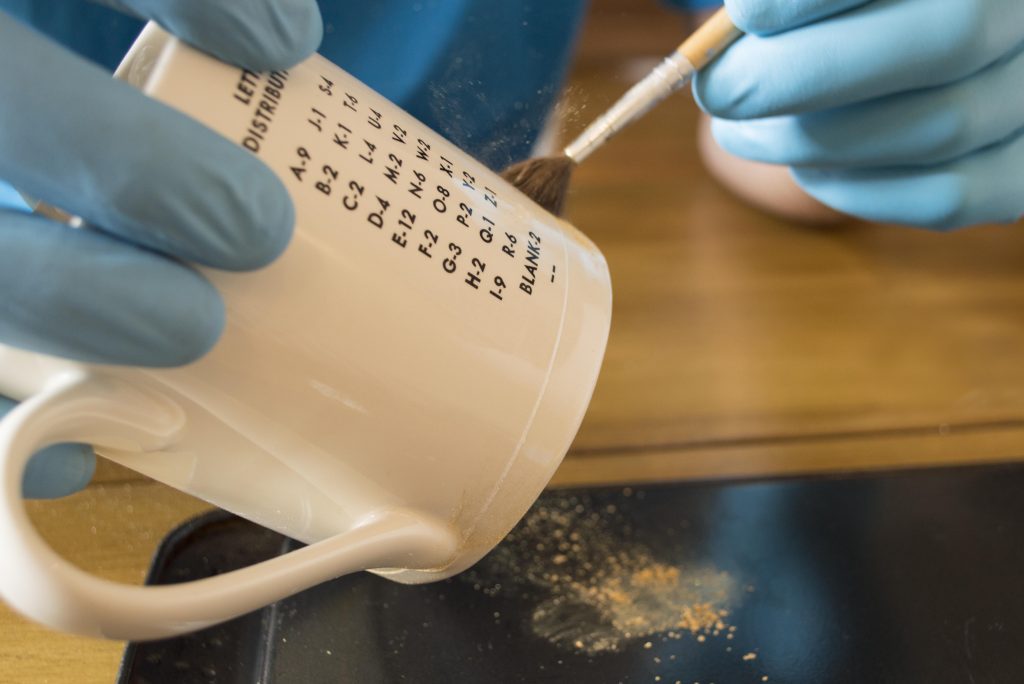
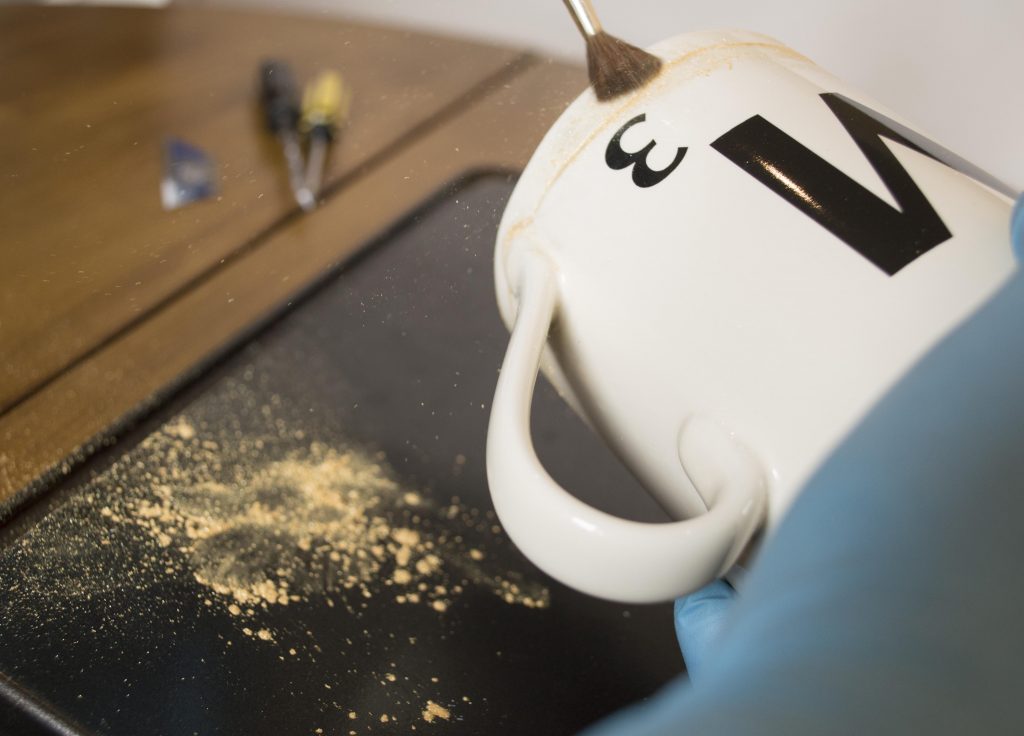
With the putty still sticky, dip a brush into gold pigment and begin tapping it onto the seam. Don’t worry about getting it elsewhere as you can clean it off later. Once adequately covered in gold, leave the piece to set up. Once set, begin cleaning off the excess gold with a wet cotton bud. The gold should be locked into the putty so don’t be too shy.
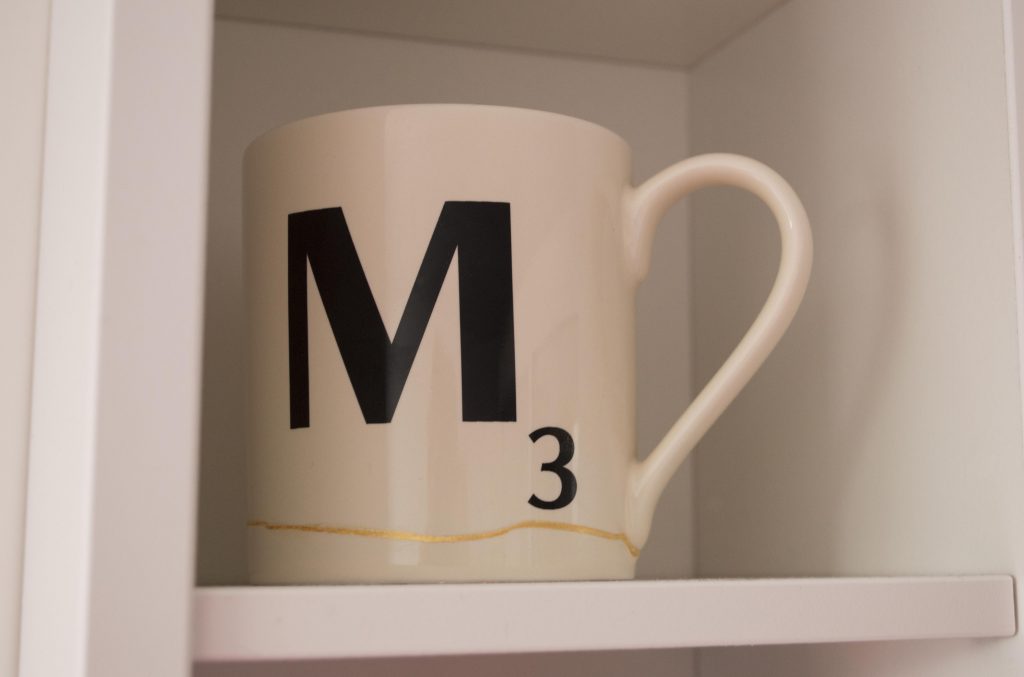
If you find there isn’t enough gold pigment for your liking, then you can touch up the line with a thin paintbrush and gold paint. We didn’t do that for fear of completely ruining it!
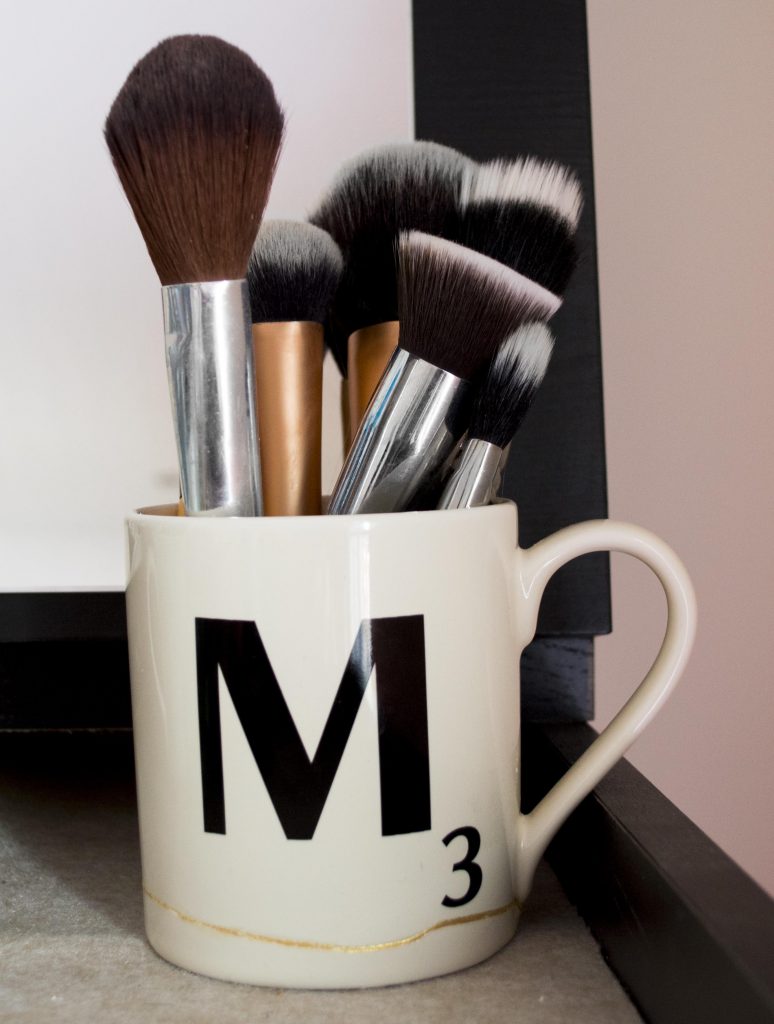
Begin using your piece! Rest easy knowing you haven’t thrown another item away.
